No Photoshop? No Problem!Photoshop and other graphics programs are no doubt very useful (and Im sure people would welcome a short guide about using them, hint hint), but not all of us can get our hands on them. Thankfully, youve got a few options on your hands.
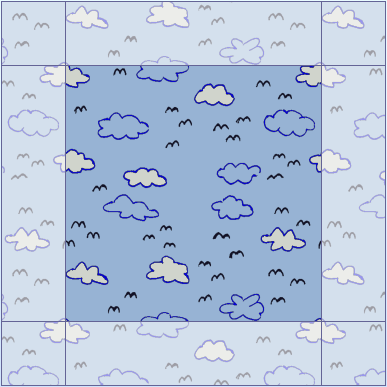
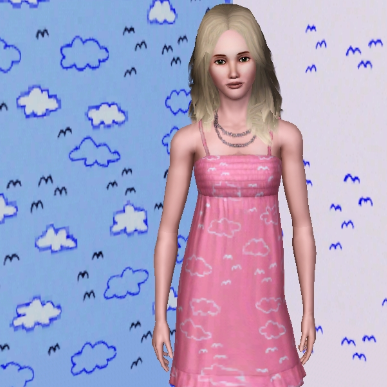
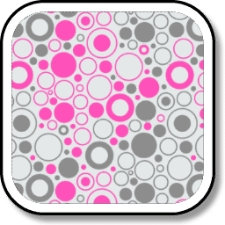
CAP Clip Art: If you dont want to download any programs, you can actually make some pretty cool patterns using only the stickers provided. My first seven patterns (including Bubbles, Soap Suds and Vine Climb) and a recent T-shirt print were all made without other graphics programs. All you need to do is use stencils, keep an eye on the sticker limit (50 stickers per layer), and perhaps use coordinates, and you can make all sorts of great designs!

 Sticker Transparency using GIMP 2
: As you may have noticed, if you want to make your own non-rectangular stickers, youll need a program that can make the backgrounds transparent. After some correspondence with the most awesome Gheez a while ago, we managed to track down a free downloadable program called GIMP 2. It can do all sorts of things with graphics, but to be frank I just use Paint for most of my stickers until I go to make the backgrounds transparent. For those who want to use GIMP, heres the steps to add transparency to a sticker (again, thank you Gheez!):
1: Open GIMP and Copy/Paste your sticker from Paint
2: Use the Select tools from the tool bar on the left to select the regions you
dont want to be transparent. Shift-click to select more than one region. I like to use the Select Regions by Colour tool for this. Its also easier if you zoom in.

3: Now that everythings selected, click on the Layer menu and select Transparency -->Select Alpha Layer.
4: Select Edit --> Clear (or just tap Delete) to make the image transparent.
5: Save it as a .png file. Make sure the save colour values from transparent pixels option is checked. There, now your sticker is ready to import to CAP!
Using Microsoft Powerpoint to remove pixelationSay youve got a black and white image thats a bit pixel-y around the edges. Like this scan:
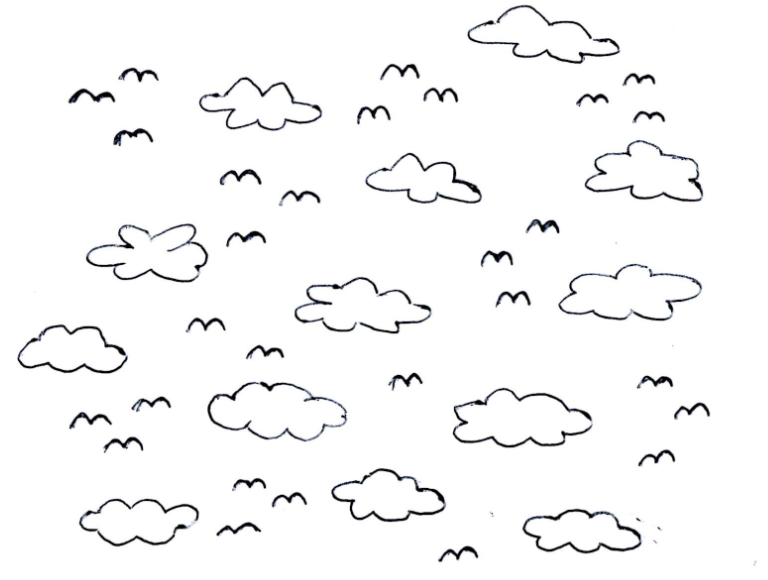
Obviously, the Select Regions By Colour tool mentioned above isnt going to pick up the hundred shades of grey around the edges. Thats why we need a tool to convert it to straight black and white. Luckily for us, Microsoft Powerpoint can do exactly that using these steps:
1: Copy and Paste your image into Microsoft Powerpoint .
Do not stretch or resize it, or itll come out pixelated in the end anyway.
2: Select your image and click on the little Picture Tools tab that pops up. Thisll open up a whole new bunch of options.
3: Click Colour. A little drop down menu of options you can pick will show up. You want the two purely black and white options, seen here:
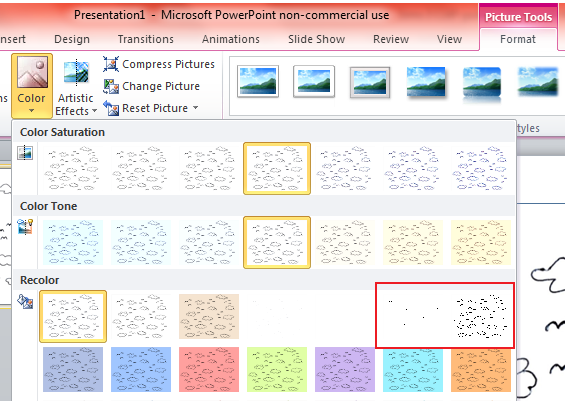
One is darker than the other, so pick the one that works for you.
4: Now that your image is in black and white, copy/paste it back into Paint, clean up the stray pixels a little, and recolour it however you want. Tah-Dah! Now all you need to do is follow the instructions above to make the image transparent. Well done!